


Lately I have been learning a little about permaculture and I am very interested in starting to use some of the methods in my garden. The first stage in preparing my first permaculture garden was to choose the place. There are lots of possibilities in my overgrown wilderness but I decided to prepare a messy area behind my little garden shed.
Up until now it has just been a slightly raised rocky, weedy area behind the shed and I have noticed it is in grave danger of becoming a dump.
-
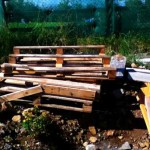
- Rocky area behind the shed
-
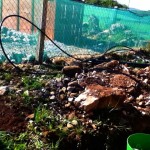
- Side of rocky area behind shed.
DON’T DUMP – MAKE A PERMACULTURE GARDEN INSTEAD
Any little patches of ground behind a shed are in this kind of danger so be warned – you start off with good intentions – saying things like ‘I am not going to create any dumping grounds in my garden!’ A few weeks later there’s an old yard brush, some empty paint cans, an old wash basket, an old rubber hose, a few pallets, and there you are – just one roll of smelly old carpet away from having your very own nasty little dump!
BEHIND THE SHED
So I decided that this would be a great place to start making a permaculture garden. It’s not far from my existing raised beds and being a naturally raised area I thought it would make it easier for me to work on as well. I am not going to go with numbered zones idea of the permaculture garden although I hope to apply the principles – but for convenience of writing this and keeping my own garden notes I am naming areas around the garden. I am going to name the area formerly known as ‘dump’ simply ‘behind the shed.’
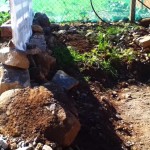
So to start my little permaculture garden I raked the rocks and stones up towards the fence. I hope that if I rake enough of them up there I might just gradually build a stone-wall or at least something that aspires to be a stone wall.
Then I covered the area with cardboard. This is the cardboard my Trike got delivered in so this cardboard has great credentials already!
It protected my new environmentally friendly transport (which brought the seaweed from the bay to my garden) and is now providing the first layer of my new little permaculture garden.
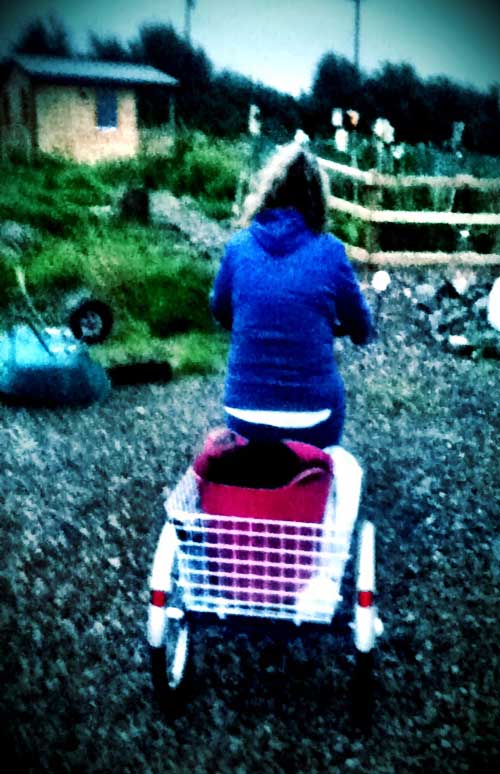
Me and my trike full of seaweed.
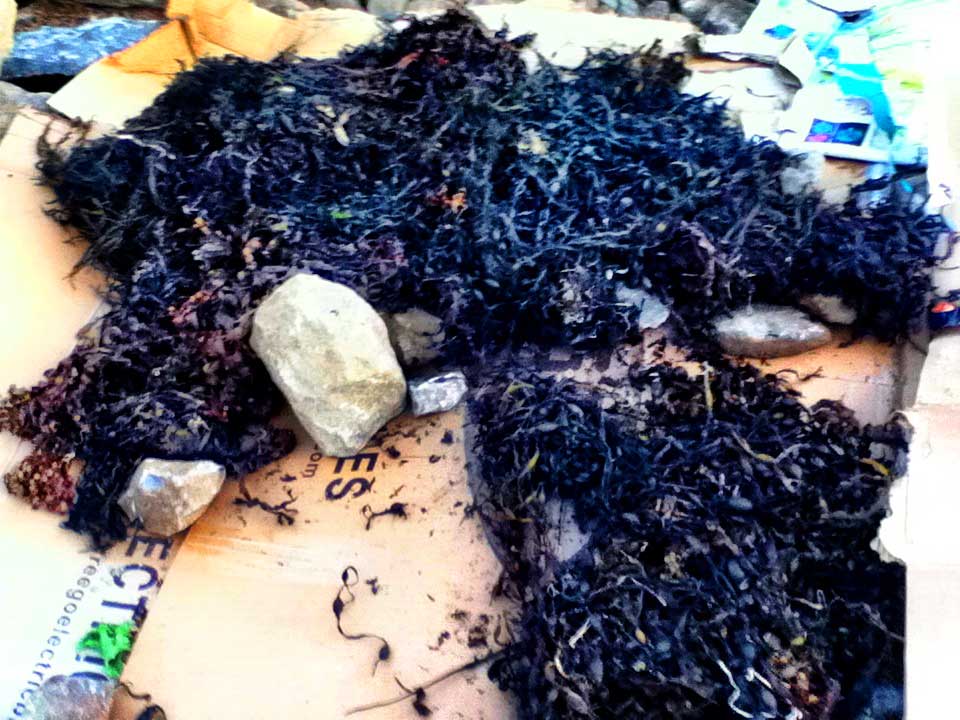
The next stage was to cover the cardboard in seaweed and now I am mixing in my stash of saved teabags, kitchen peels, pea pods, wood ash and other bits and pieces that naturally occur around the house. I added a few rocks to keep it secure against the Galway wind.
WASTE NOT – WANT NOT!
I am also currently harvesting some of the potatoes I grew in coal sacks and I am throwing this used soil on top of the bed as I go along. My mother grew up in Liverpool during World War II and she was brought up to think waste not – want not! To be honest it was pretty well drilled into me too, so I love finding ways to use waste.
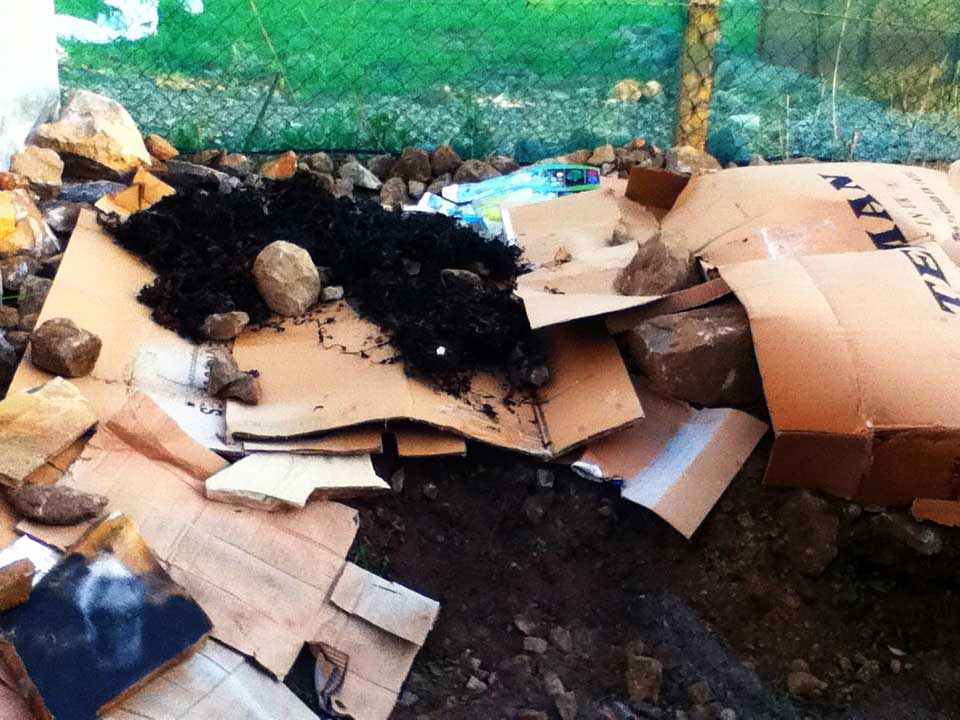
Seaweed on cardboard
I am also thinking of adding some straw, I believe that oat, barley or wheat straw is less likely to spread seeds than hay or grass straw so when I get my hands on some I’ll add it to the mix.
None of this was hard work I’m glad to say and it feels really good to have got the seaweed from the bay, cycled it home, then layered the cardboard and added saved waste etc. all by myself.
Add rocks to keep it down.
I want to experiment a lot more with permaculture and hope to be repeating this process in other places around the garden. So keep your fingers crossed for me that by next spring this will have broken down into a soil I can plant in – without digging.
By for now and good luck with your own gardening!
Grace
Recent Comments